So, I’ve been in Scottsdale, AZ for a work event these past few days. Solid event, good content, caught up with folks I haven’t seen in a while too. We wrapped with a dinner last night, and I’m headed home this morning. I’ve got a bit of time before my flight, so I figured I’d head down the road and get a bite at the Starbucks. Yeah, I know. I flew 2000 miles to go to Starbucks. But hey, it’s consistent, and I was feeling indecisive.

I packed up my stuff so I can roll out to the airport when I’m done, leaving me with the need to get a mile up the road to the Starbucks. Not being jazzed about walking that while dragging my stuff, I caught a car. During the event, our AI Guru was talking about taking a fully autonomous car ride that week, so how could I resist, right? So, I grabbed the Waymo app and got registered.
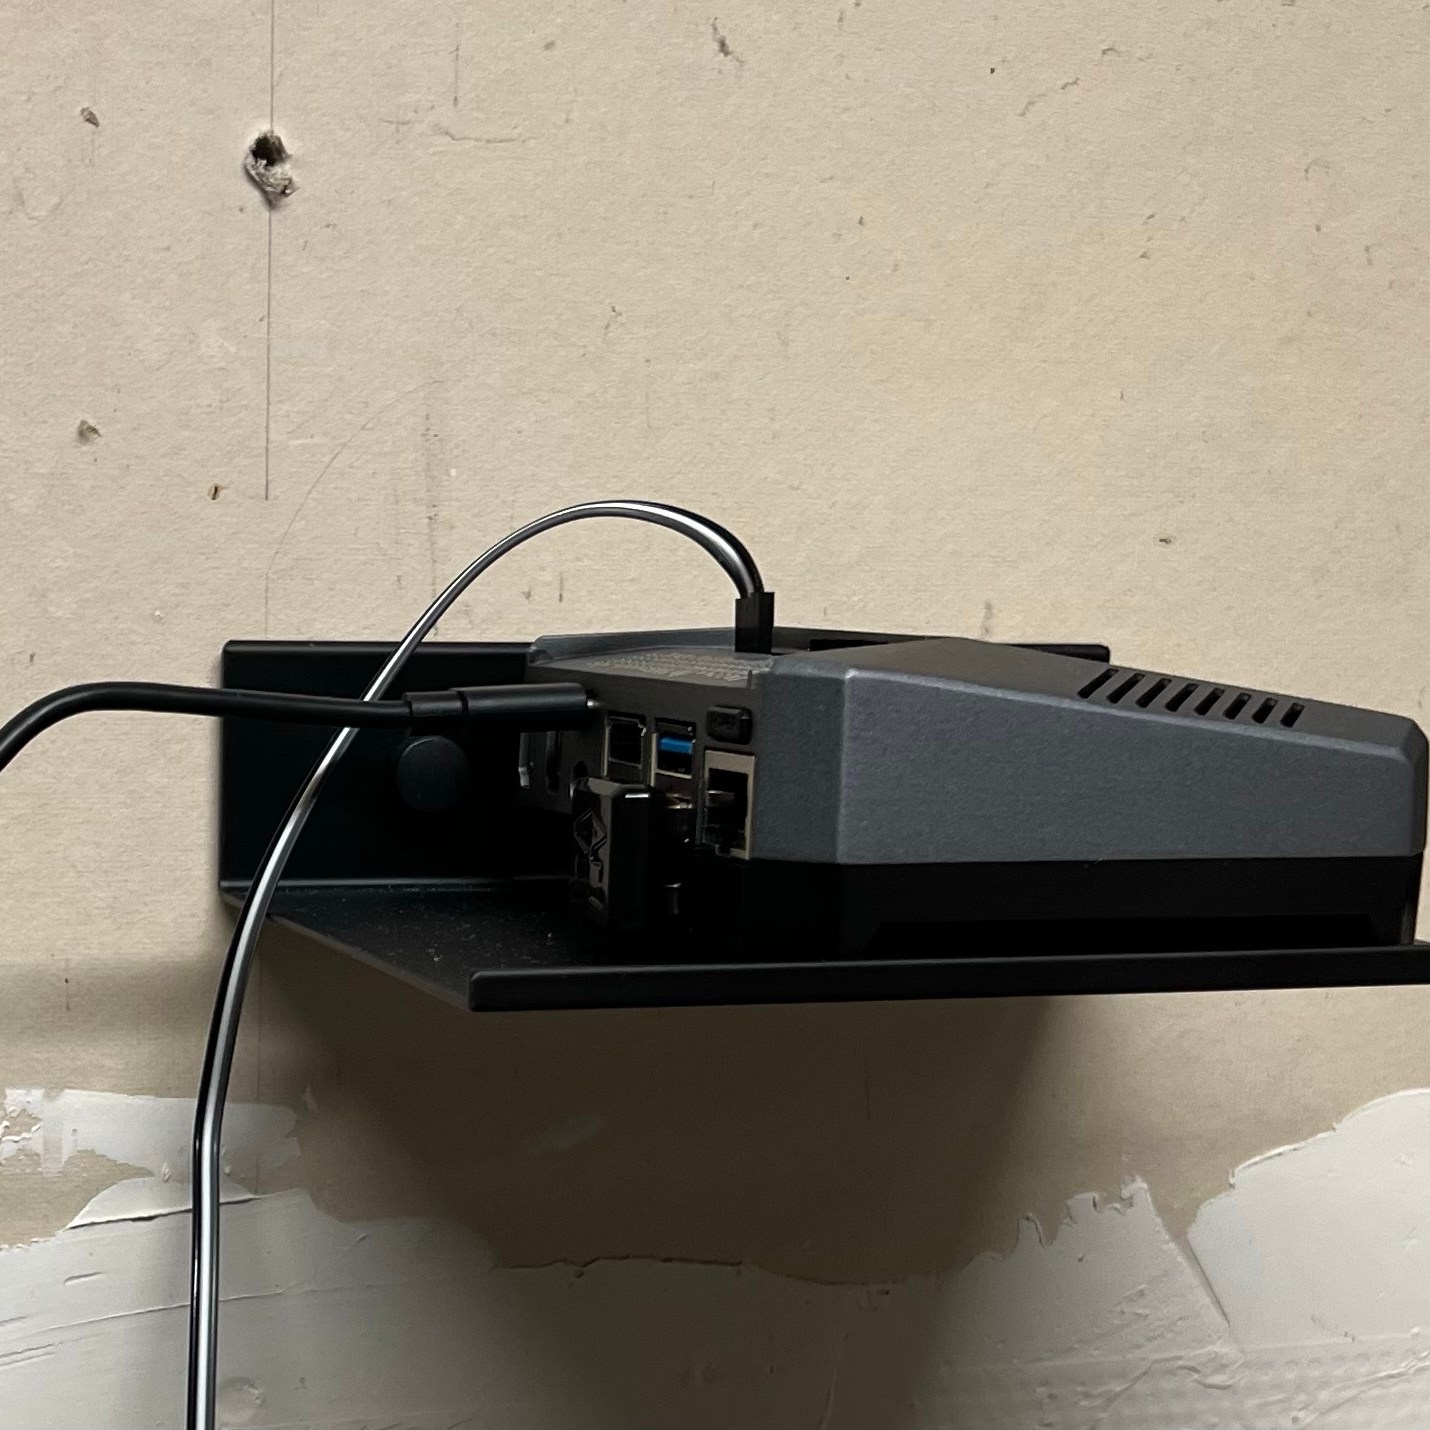
Setting up the ride was about the same as Uber. Where are you going, confirm where you are right now, etc. The app said it would take 10 minutes for my ride to get there. My chariot, a highly modified Jaguar I-PACE EV SUV arrived in 8 – not bad! The car’s got a TON of cameras plastered all over it.
You unlock the doors with the Waymo app, which lets you pop the trunk as well. Dropped my stuff in the trunk, hopped in, got the intro briefing from the car, and off we went. It didn’t demand I buckle up until we were already moving and did so LOUDLY. Ok, whatever, safety first. Or at least third, right? You can control the music in the car with the touchscreen in the back, or with the Waymo app. I settled on Alternative and was treated to some Noah Kahan tunes.
If I’m honest, we got off to kind of a rocky start. There was a bunch of construction in the complex where the hotel was. I think the car got a little confused. Rather than go out the front exit, the way it entered, it took me out the side exit. It then proceeded to ignore the directions of one of the construction workers. No amount of her waving her arms telling the car to stop helped. Fortunately, we were creeping along at a blistering 5mph, and everyone was overall cool. The next worker up the way was a little bolder, standing in the middle of the street, directing the car. That time, the Waymo followed the worker’s directions, and off we went.
As far as driving style goes, for that early part of the ride, I’d describe it as similar to how my 17-year-old drove right after she got her license. Incredibly tentative about seemingly everything. She’s doing great now, by the way, and I’m sure Waymo will get there too. Once we got out on the main roads, the ride was really smooth. The Waymo drove courteously and safely. It got me to the Starbucks about a mile away in about 10 minutes. This was due mainly, of course, to the weird exit route.
As for dropping me off, well, that’s another matter. I punched in the address of the Starbucks, but the car sort of missed a little. The Waymo looked around for a spot to pull over and drop me off and settled on the far end of the parking lot. Again, whatever. Safety third, I guess.
The car was kind enough to remind me to take all my stuff with me, including the stuff in the trunk. It even automatically popped the trunk for me.
What’s the actual ride like? I grabbed a bit of video to show it off. Enjoy!


You must be logged in to post a comment.